
Introduction
In this article, we will show you how to add border to images in WordPress. By default, when you copy and paste an image from the clipboard or when you upload a borderless image to WordPress, it will show up just like the original version when you post it in your new post or page.
Of course, you can always edit your images and add border to your image using Photoshop or any photo editor. However, if you want to keep your original image untouched and simply just want to add border on your image to look better on your WordPress post or page, we can do it within WordPress. Sometimes, we just want to add a border to the image simply because it could look weird if your page background is the same as the color of your whole image.
As mentioned above, we can edit the image to add border using a photo editor software. Fortunately, WordPress is very customizable and build-in with lots of extra feature. We will show you two different ways to add a border to your images in the easiest way.
Add Border to Images in WordPress Using CSS
Insert CSS into image tag
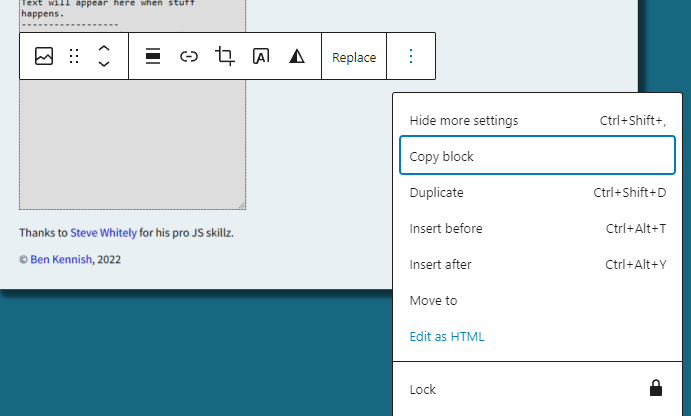
You can manually add CSS styling by using the HTML editor. To edit your posted image on your WordPress post, you just have to select the image and then click the 3 dots on the menu and click “Edit as HTML“. Example below:
Then, add this line style=”border: 1px solid black;” within the <img> tag like below.

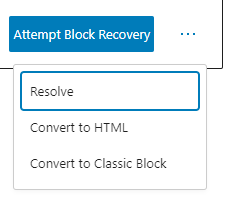
After doing so, you might see an error on top of your image “This block contains unexpected or invalid content.“. Do not worry, you may ignore it, or you may click the 3 dots on the right of the box and then click “Convert to HTML“.
Also, you may add your own CSS styling within the <img> tag. But the one that I’m using is a short form of style=”border-width: 1px; border-style: solid; border-color: black;”. You may google for more stylings for your image.
If you want to see how your image will look after adding CSS styles, simply click on the image and change from “HTML” to “Preview” within the option box above your image.
Define a CSS style for borders
You can add border to your images by defining a CSS class or style. This method is easy and convenient because by defining or creating a CSS class, you can reuse the class for your images and you don’t have to edit its HTML or <img> tag every time you added a new image.
Under your WordPress menu on the left bar, go to Appearance > Customize > Additional CSS and enter the following code:
.border-image {
border: 1px solid black;
}
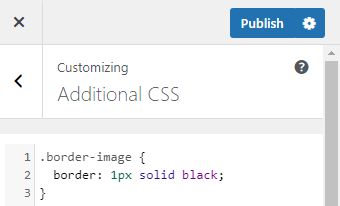
Then, just click “publish” on top right in the menu.
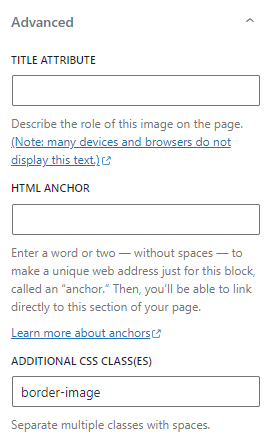
Now, in order to add a border to an image, you must first select it, open the Advanced section in the right-hand panel of the image settings, and then add “border-image” under ADDITIONAL CSS CLASS(ES)
This method is much easier than the first method since you don’t need to change the code. Also, unlike before, it doesn’t provide a warning.
To Conclude
In conclusion, it is very easy to add border to images on WordPress. Either method above works, but I would suggest using the second method which is defining the CSS class. Do take note that the class name that you use is not currently being used by your template. If the class already existed, you will have to choose a different name.
Also, using the second method doesn’t give you any warning and you do not have to edit the HTML tags. You can always add different styling with different class, then when you want to apply multiple class to your image, you can simply separate them by using spaces as stated under the Additional CSS Classes textbox.